Fire Roasted Hatch Chile Ice Cream On a Ninja Creami
Servings 4
Ingredients
- 1 1/2 tbsp cream cheese softened
- 1/2 cup granulated sugar
- 1 1/2 tsp vanilla extract
- 1 cup heavy cream
- 1 1/2 cup whole milk
- 2 tbsp diced fire roasted hatch chile
Instructions
- In a medium bowl, mix your cream cheese with the sugar and vanilla extract. With a whisk or rubber spatula, stir the mixture until evenly combined, for 1 minute. Then slowly mix your heavy cream and milk until fully combined and sugar is dissolved.
- Pour your mix into an empty CREAMi pint. Put the lid on and freeze for 24 hours.
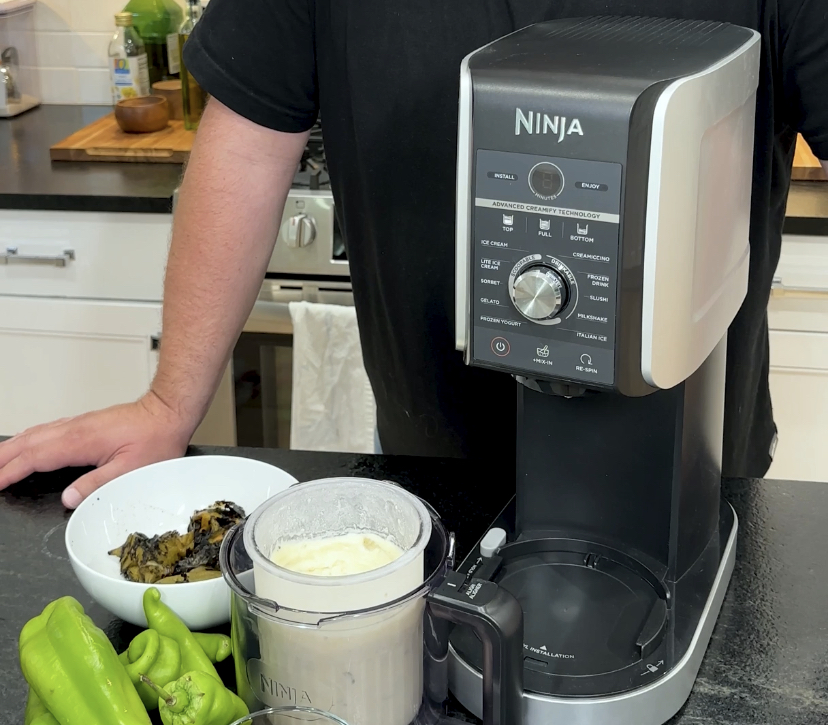
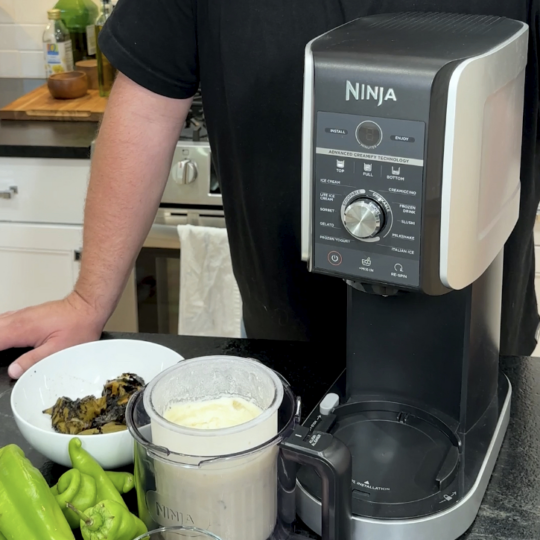
- Remove the pint from the freezer and take off the lid. Follow the Ninja CREAMi instructions and attach the pint to your Ninja CREAMi. Select the ICE CREAM mode and process.
- Remove the pint from the CREAMi and create a 1 1/2 inch wide hole that reaches the bottom of the processed portion of the pint. Add your fire roasted hatch chile and process twice using the ICE CREAM mode with the MIX-IN program.
- When processing is complete, remove the ice cream from the pint and serve immediately. You’ll be surprised 😉

Comments: