Smoked and Juicy Turkey With Bear Mountain Pellets
Servings 1
Ingredients
For the Brine (injectable)
- 2 cups water
- 2 cups turkey or chicken stock
- 1/4 cup kosher salt
- 1/4 cup brown sugar
- 3 garlic cloves smashed
- 1 teaspoon black peppercorns
- 1 bay leaf
For the Turkey
- 1 whole 14 lb turkey broken down into:
- 2 breasts
- 2 thighs
- 2 drumsticks
- 2 wings
- Kosher salt and black pepper for surface seasoning
- 1/2 cup unsalted butter melted (for injecting after cooking)
Instructions
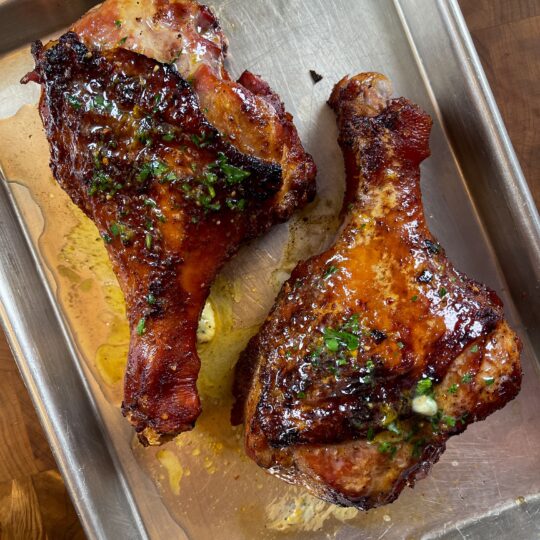
- When it comes to turkey, we’re all about maximum flavor, perfect doneness, and unbeatable texture—and this method delivers on all three. By using a wet brine that’s injected directly into the meat, we lock in seasoning all the way to the center. Then, by letting it dry-brine uncovered overnight, we set the stage for that crispy skin everybody fights over.
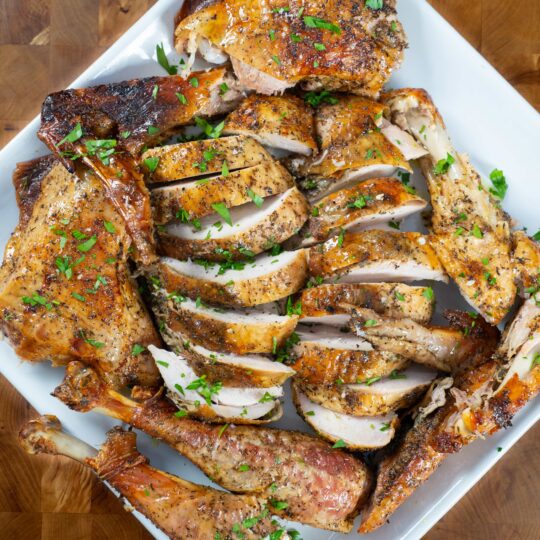
- Breaking the bird down into retail cuts means each piece cooks evenly and reaches its peak temperature without drying out—no more overcooked breasts or underdone thighs. Plus, it gives you a pile of bones and trim to make an incredible homemade stock or gravy base.
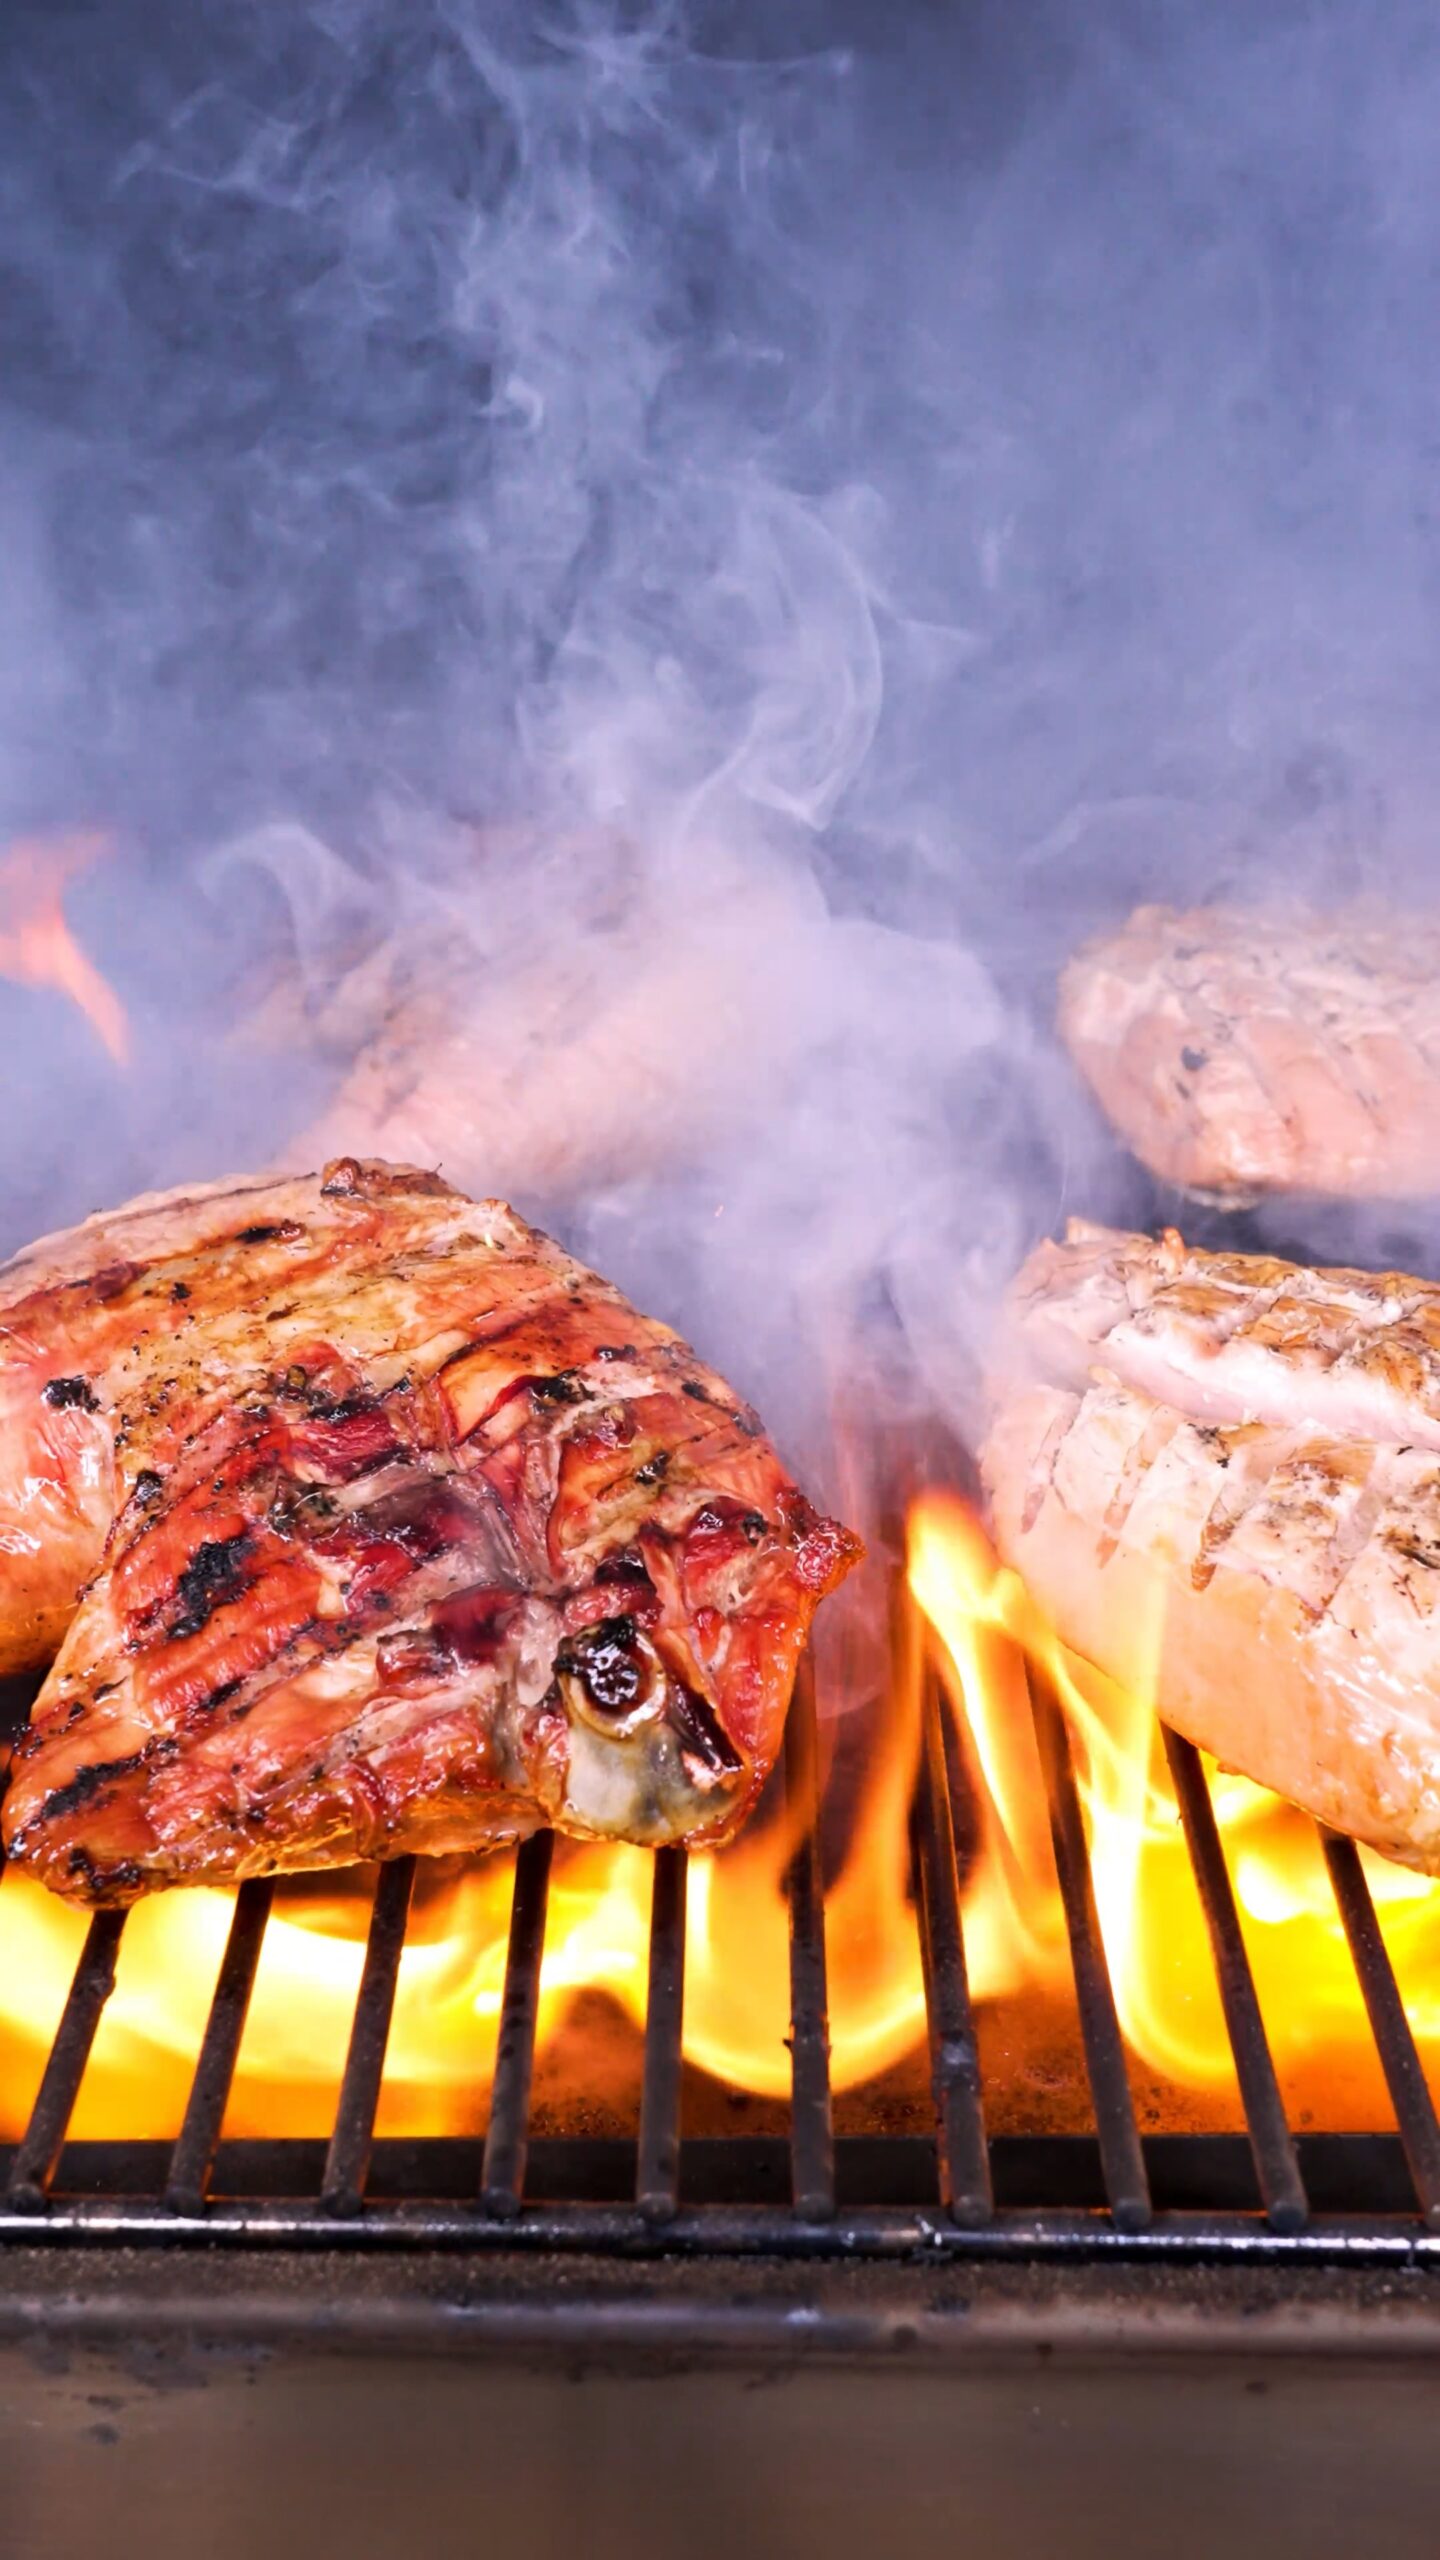
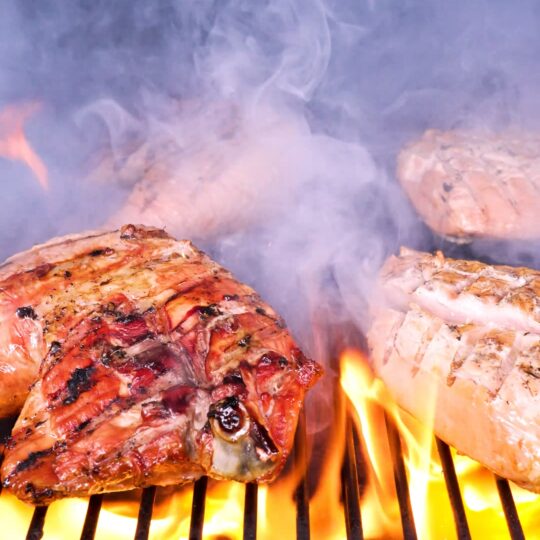
- And the secret weapon here? Bear Mountain’s Holiday Turkey BBQ Blend pellets. They bring a clean, balanced smokiness that never overpowers the meat—just enhances it. The result? Juicy, buttery turkey with perfectly rendered skin and real-deal woodfire flavor.
- Time to smoke like a pro.
- Instructions Make the Brine – In a small saucepan, combine water, stock, salt, brown sugar, garlic, peppercorns, and bay leaf. Heat over medium until the salt and sugar dissolve. Remove from heat, strain out the solids, and cool completely. Prep the Turkey – Break down the turkey into individual cuts—breasts, thighs, drumsticks, and wings. Season each piece generously with salt and pepper. Inject each cut with the cooled brine, getting good distribution along the muscle fibers. Place on a sheet pan, uncovered, in the fridge overnight to dry-brine. Smoke the Turkey – Fire up your smoker with Bear Mountain’s Holiday Turkey BBQ Blend pellets. Smoke at 225°F. Target these internal temperatures: Breasts: 160°F Thighs/Legs: 175°F Wings: 170°F Pull each piece as it hits its temp. Inject and Rest – Inject melted butter into each piece as soon as it comes off the smoker. Tent loosely with foil and rest for at least 20 minutes. Crisp the Skin – Crank your smoker or grill up to 400–450°F. Return the turkey pieces skin-side up and cook until the skin is rendered, golden, and crispy. Serve – Arrange and serve family-style for maximum golden-brown-deliciousness.


Comments: