- 01
STEP 1: Choose your steak This is our go-to. No sauce, no tricks, just technique. It's built for thick steaks, about an inch and a half or more: ribeye, bone-in ribeye, tomahawk, New York strip, porterhouse, T-bone, filet, top sirloin, and picanha. It works just as well on roasts like prime rib, tri-tip, strip loin roast, and whole beef tenderloin. It's not for thin cuts like skirt or hanger. Those go straight over high heat.
- 02
STEP 2: Temper and season Take the steak out of the fridge about two hours before you cook it and set it on a rack over a sheet tray. Notice we said temper, not "bring to room temperature." It won't actually get to room temperature in that time, and that's not the point. You're taking the chill off and giving the seasoning time to work.
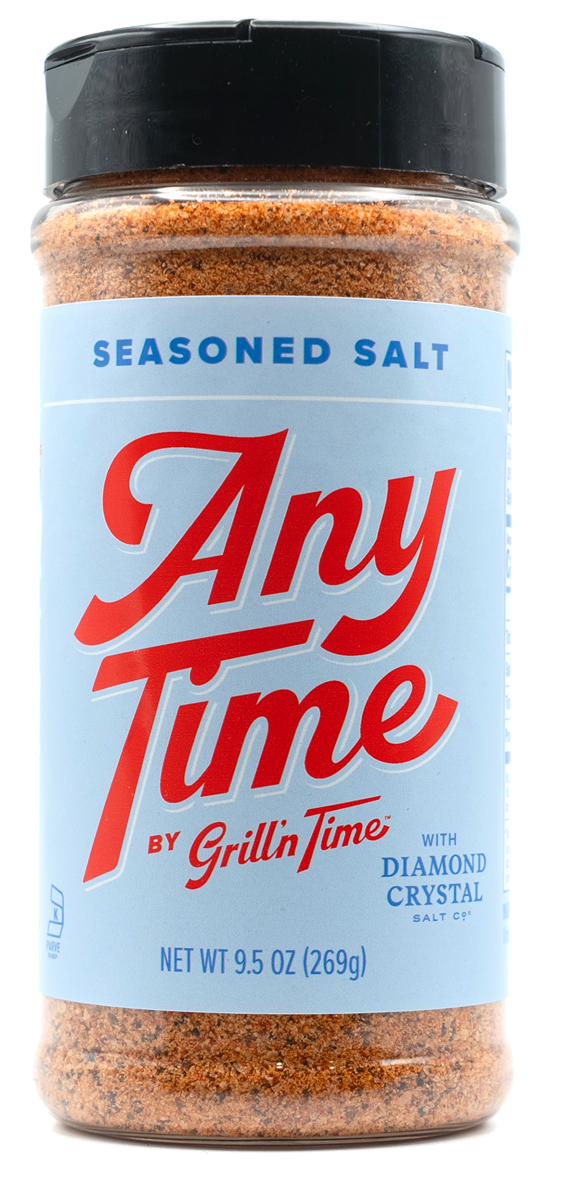
Season one side aggressively with Any Time Seasoning, then wait 10 minutes. The best binder is patience. The salt pulls moisture to the surface, dissolves into it, and turns into a kind of salt glue. The seasoning sticks, and some of it gets pulled back into the meat. No mustard, no oil, no binder needed. After 10 minutes, flip it and season the other side.
- 03
STEP 3: Smoke low Set the smoker to 200 to 225°F. Going low on this first cook gets you more smoke flavor, and the lower the temperature now, the more even the cook from edge to center.
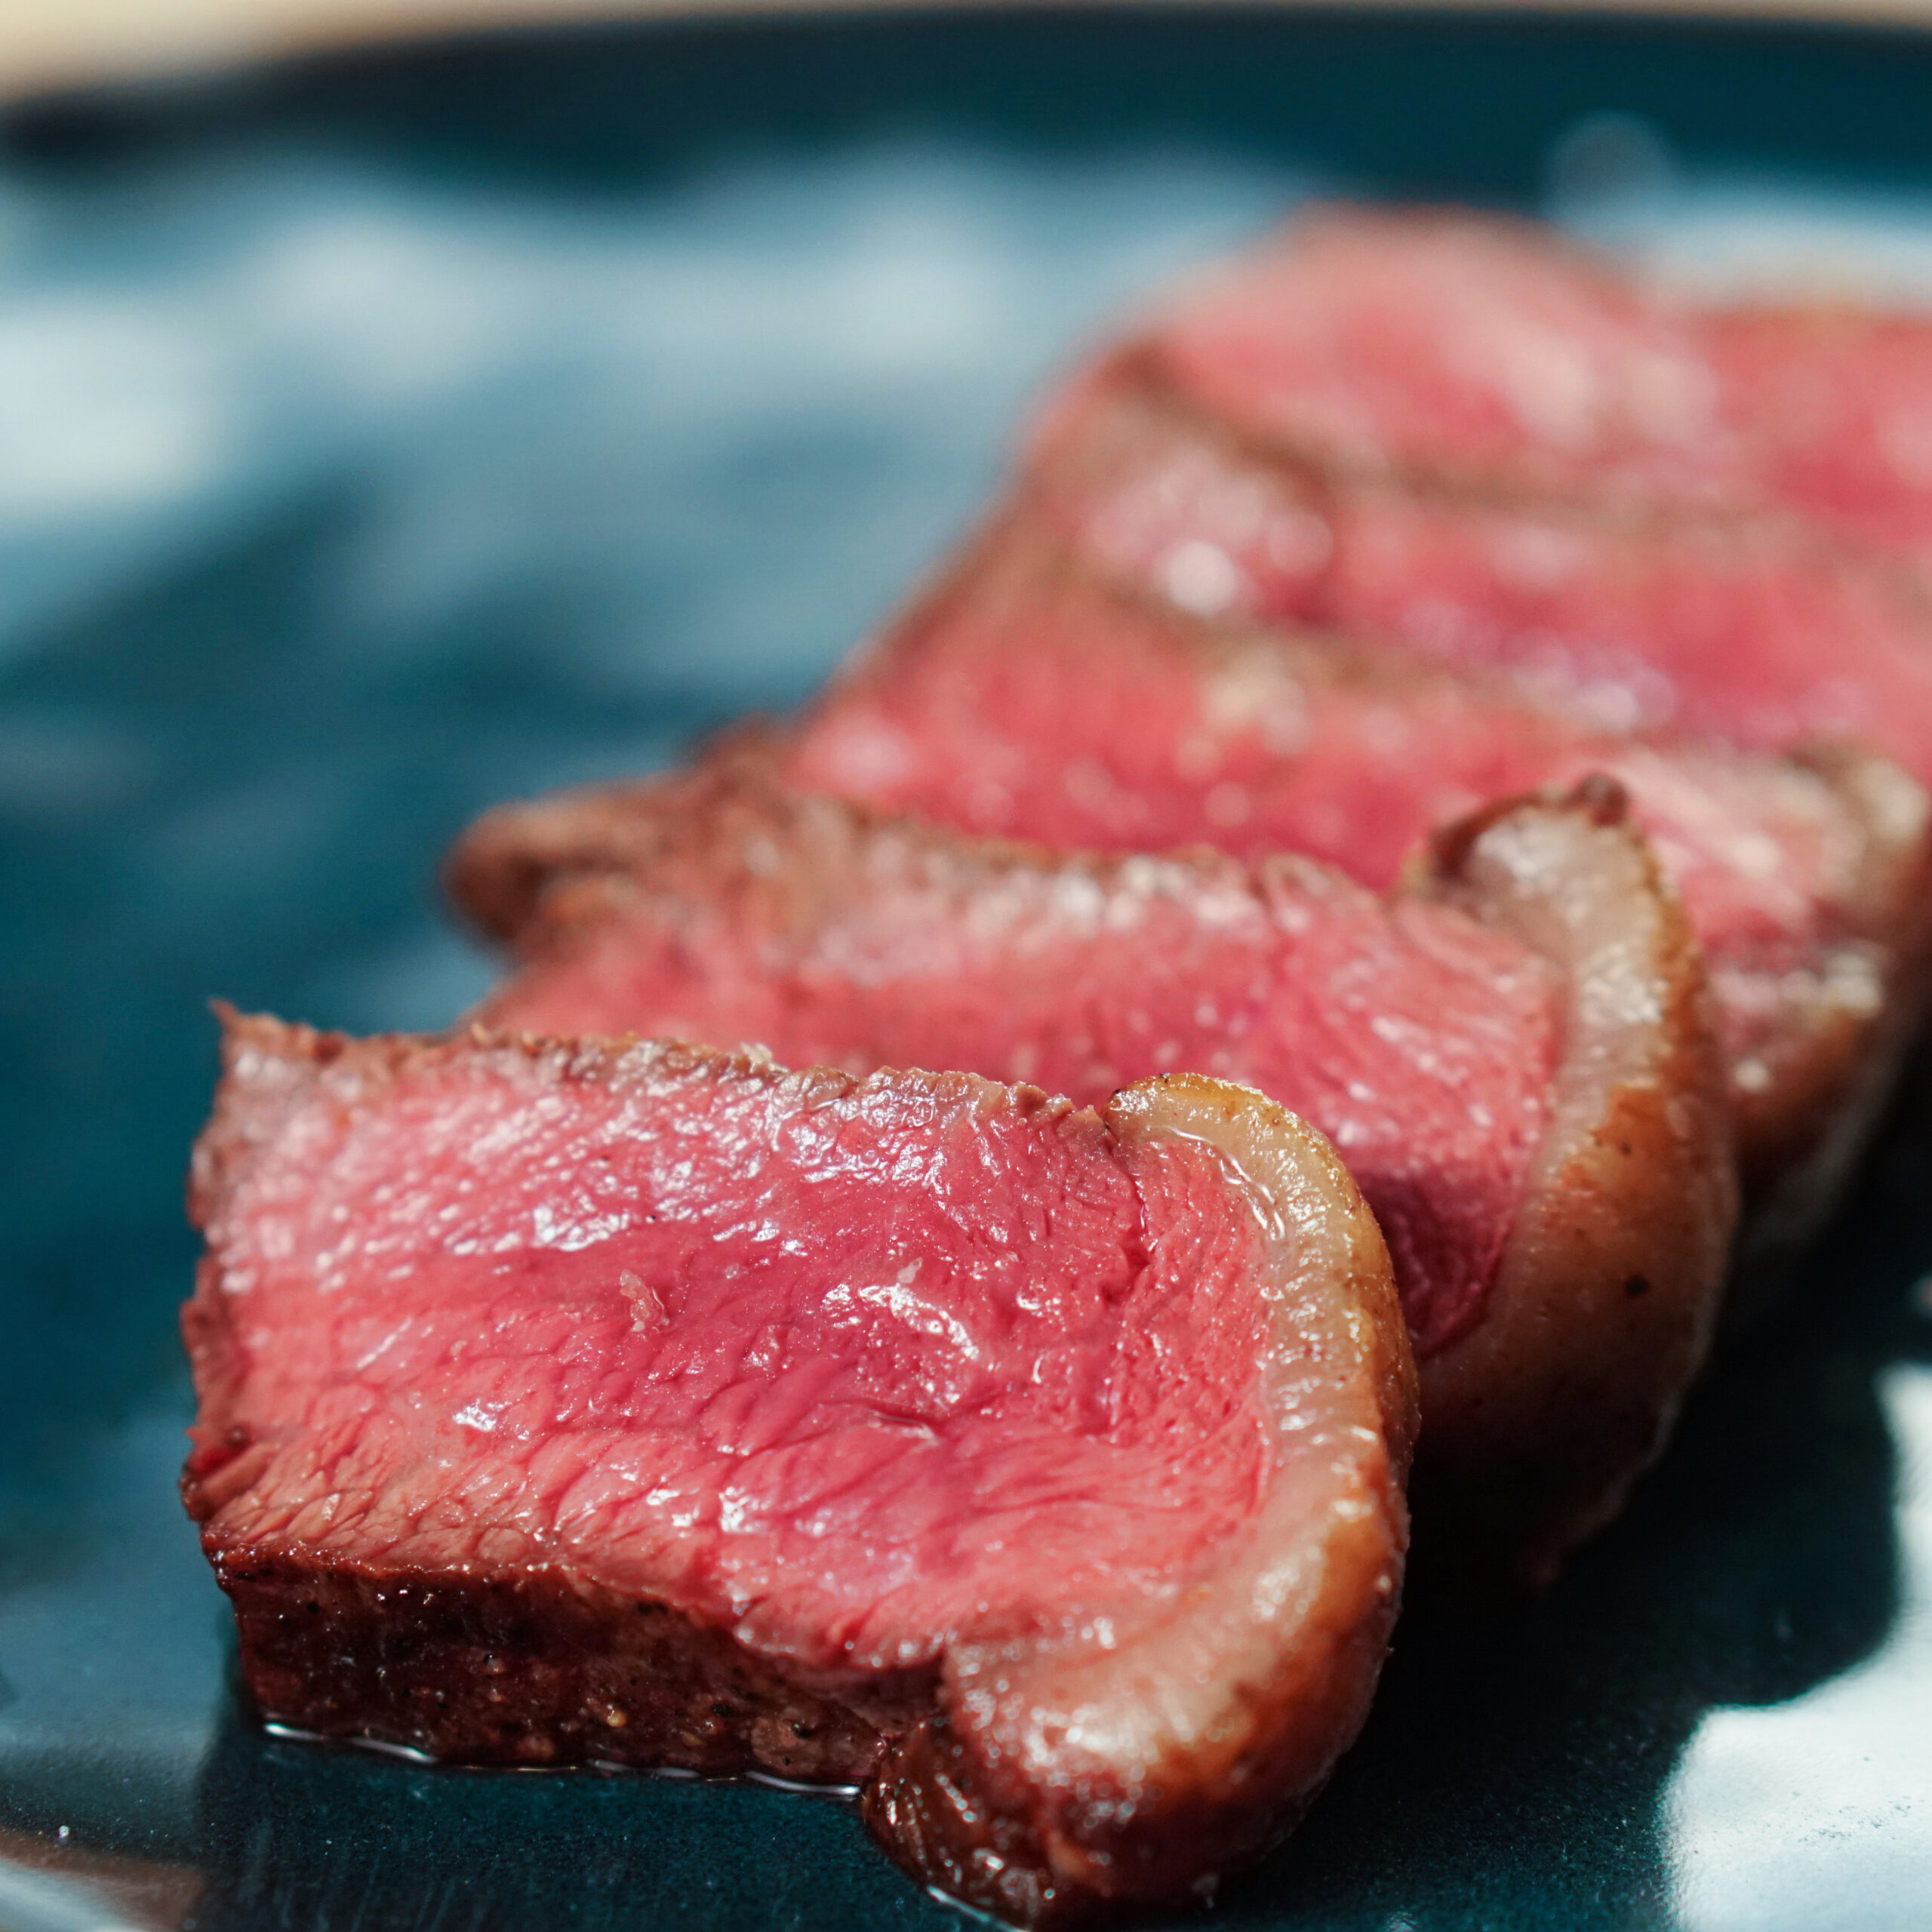
For medium rare, pull steaks at 122 to 125°F. Go toward the high end on really fatty cuts, like a picanha with a big fat cap or a heavily marbled ribeye, so some of that fat starts to render. Pull roasts at 118 to 120°F.
Why the difference? Carryover cooking comes down to mass and temperature. The bigger the piece of meat and the hotter the cook, the more the temperature climbs after it comes off. A prime rib roasted at 350 climbs a lot. A filet cooked sous vide at 140 doesn't move at all. Smoking low keeps carryover small, but a roast has a lot more mass than a steak, so it comes off a few degrees earlier.
- 04
STEP 4: Rest Move the steak to a rack so it doesn't steam itself and keep cooking. The rest has two parts. First the internal temperature keeps rising, then it levels off. That's carryover finishing. Then it starts to drop. Once it's dropping, you're ready to sear. Sear any earlier and the steak keeps cooking past where you want it.
This is the real advantage of the reverse sear: flexibility. Once the steak is rested, it can hold for an hour or two, so do the smoke early and sear right before you eat. It's already rested, so it doesn't need to rest again after the sear.
- 05
STEP 5: Heat the pan As soon as the steak comes off, put the cast iron pan in the grill and turn the grill up to about 550°F. Let the pan heat for 10 to 20 minutes once the grill gets up to temperature.
Hotter isn't better here. You hear about steakhouse broilers at 900 or 1,100 degrees, but that heat comes from above and never touches the steak. If you crank a pan until it's smoking and crazy hot, you go past the Maillard reaction and start making carbon, and carbon tastes terrible. A cast iron pan around 550 gives you a deep, even, edge-to-edge sear without burning it.
- 06
STEP 6: Sear For a lean steak, give both sides a light spray of beef tallow. Skip the fat on a well-marbled steak. Lay the steak on one side of the pan and leave the lid open. You don't want to build an oven that keeps cooking the inside. Sear until there's a good crust on the bottom, 30 to 90 seconds. Flip it onto the part of the pan that hasn't been used yet, which is still at full heat, and sear the second side the same way. That's why the pan should be twice the size of the steak.
- 07
STEP 7: Finish and serve Slice right away. Drizzle with a little olive oil or top with compound butter, then finish with a light dusting of Any Time Seasoning.
One of the biggest differences between a steak at home and a steak at a restaurant is that restaurants know seasoning after the cook matters as much as seasoning before. Taste a piece, adjust the seasoning if it needs it, and serve immediately.